The Fastbag is an elegant solution to the problem of luggage carry without the compromise
that permanent mounting hardware imposes on the appearance of the bike. The unit mounts securely to the passenger
grab handles and can be removed quickly when not in use.
Here are my reasons for going with the Fastbag.
- Aerodynamic design and color matching looks great on the bike.
- No permanent mounts required.
- Easily removed for carrying.
- Expandable for large capacity.
The MSRP for the bag is $289, but Fastbag Atlanta offers it
at a discount.
For more information, check out the Manufacturers Page.
The instructions that come with the bag are excellent and this page will not attempt to repeat them. Rather, the
specific experience I had with assembling and mounting the unit and information specific to this bike will be presented.
Package:
The unit arrives with the top and lower frames attached to the top lid. You have to use the key to separate the lid
from the top and lower frames. Then you need to separate the top and lower frames by spreading the pressure clips.
You get a lot of stuff with the Fastbag. I didn't need to use the loop straps.
Assembly:
The first step is to place the lower frame under the first fold of the expandable section. Then
place the top frame on top and press together until the clips snap into place. Getting the clips to snap into place
required stretching the material taught, making sure the studs in the lower frame match up with
the holes in the expandable section, then applying hand pressure squeezing the two sections together.
Next, attach straps with metal ends using supplied screws. Then slip on metal buckles and thread straps
through slits in top fold of expandable section.
Mounting:
I used the straps and pads somewhat differently than shown in the instructions.
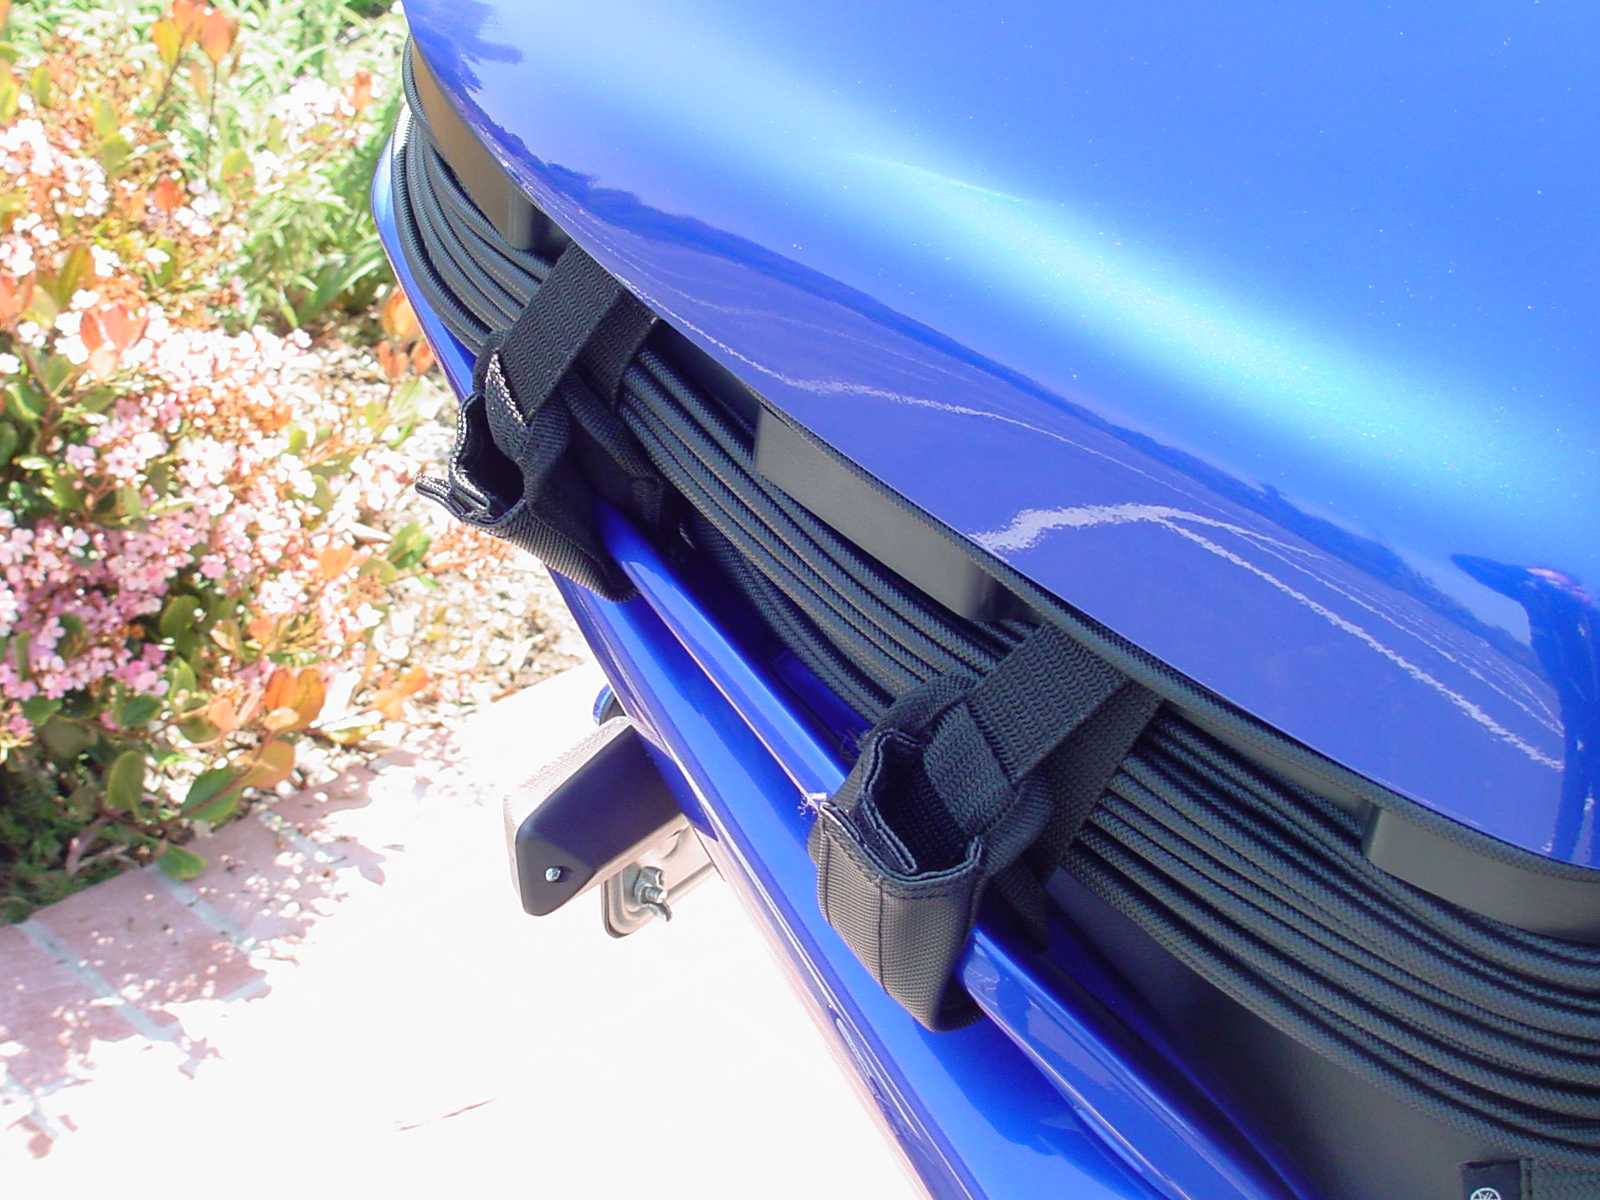
This picture shows the lid attached and straps tightened. The paint surface on the tail will be scratched with repeated
friction with the bag. A cut down mouse pad glued to the bottom of the bag will protect the finish.
This picture shows the bag fully extended. The straps come much longer than needed and should be cut to length
using the fully expanded bag as a guide. I cut them leaving about 18 inches of unused strap on the ends. The
cuts should be made at an angle to facilitate threading through the pads and buckles. A light application of
flame with a lighter seals the frayed strap ends after cutting.
Some more pictures taken outdoors.
Other Comments:
- The lid was tough to attach and lock with the key at first but that has eased with use and now
works smoothly.
- I didn't affix the self-adhesive velcro pad for mounting the waist patch to the front of the bag.
This detracts from the looks of the bag on a blue bike but would look fine on a black bike.
- The color match with the blue bike is excellent but the bubble packing left a slight imprint in the paint
on the top of the lid which I could not buff out.
- The front of the bag works well as a back rest when riding.
- Even though the Fastbag cannot be readily removed without the key it is not meant to be used as a secure storage in the
same way as hard bags. The unit is held down with nylon straps which could be sliced off by a determined thief. The
counterargument is that the unit can be easily removed and carried with the rider when the bike is left unattended.
In summary, I am very happy with the Fastbag.
Last Updated: 04-10-2003
Copyright © 2001-03, Patrick Glenn, All Rights Reserved.
Yamaha® and FZ1® are registered trademarks of the Yamaha Motor Corporation.
This site is not affiliated in any way with the Yamaha Motor Corporation.
The information presented here reflects solely my personal experience with my motorcycle and is presented
for entertainment purposes only. No information presented here is to be relied upon for issues of rider safety
nor to replace the services of a qualified service technician.
Any attempts to follow or duplicate any of these procedures are done so completely at your own risk.
By reading the information on this site, you agree to assume complete responsibility for any and all actual
or consequential damages that may arise from any information presented herein.


